


Read It and Eat It: An Arrow to the Mooncake
Some of you may already know this, but my grandfather is half Cuban, half Chinese. As a result, my family has a really eclectic mix of traditions and one of those is celebrating the Mid-Autumn Festival, aka the Moon Festival! Well, what that really means is buying mooncakes and eating them all together. Mooncakes are actually my favorite Chinese pastry, but they are a rare treat in my house. So you can imagine when I learned that Emily X.R. Pan’s novel An Arrow to the Moon is a retelling of one of the central myths surrounding the Moon Festival, I was pretty excited to use it as an excuse to go get mooncakes! But this is NOVL we’re talking about, and there’s nothing more NOVL than being extra. So instead of just buying mooncakes, we’re gonna make mooncakes!
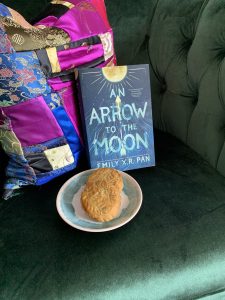
Now, I know what some of you must be thinking: Savannah, nobody makes their own mooncakes. But I am ridiculous, so I did make these mooncakes, and they were delicious and actually tasted like proper mooncakes! I honestly thought I would fail, but I didn’t fail! I MADE MOONCAKES! I am as astounded as anyone.
And trust me, you’re gonna want a sweet treat after reading this book! An Arrow to the Moon is a gorgeous, magical romance that will leave you weeping! And you’re going to be amazed at your own skills when you make these magical mooncakes!
Supplies:
Mooncake mold (you can buy these online, I got a whole set off of Amazon!)
For the Dough:
220g all purpose flour
150g golden syrup
50 g sunflower oil
½ tsp (2g) lye water
Cornstarch (or flour) for coating (note, cornstarch works better)
For Lotus Seed Filling:
320g lotus seeds
200g powdered sugar
250g oil
Eggwash:
1 egg yolk
1 tsp water
Begin by halving your lotus seeds and removing the bitter green stems. Definitely put an audiobook for this one! Toss the green bits. Cover the seeds in water and seal with plastic wrap. Allow to soak overnight at room temperature.
Once your seeds have soaked overnight, drain and place into a pot. Cover with water again and bring to a boil. Boil for 45 minutes to an hour. Place the beans into a blender and blend on high until smooth. Note: don’t add any extra liquid if you can help it! Use a tamper to make sure the seed paste comes out smooth.
Add blended seeds to a nonstick pan over medium heat. Gradually add the powdered sugar and oil, mixing in between and alternating until all incorporated. Cook the mixture until thickened and it stops sticking to the pan. Remove from the pan and allow the mixture to cool completely.
While your paste cools, mix your dough. Whisk together golden syrup, sunflower oil and lye water. In a separate bowl, combine all-purpose flour with golden syrup mixture. Knead together until incorporated. You should have a nice ball or patty of dough. Wrap in plastic wrap and allow to sit for at least 30 minutes and up to 4 hours.
Once you have your dough and your filling ready, its time to put the mooncakes together! The size of your mooncakes will depend upon the size of your molds. Most mooncake molds are either 100g or 50g. I made some of both of these sizes, and they both turned out great! For the 100g molds I made 90g mooncakes, and for the 50g molds I made 45g mooncakes, but I definitely could have made my mooncakes bigger for the molds I had. Here is the ratio I used for each:
100g mold:
40g of dough
50g of filling
50g mold:
20g of dough
25g of filling
Weigh your dough and your filling according to the size of your mold, then roll into balls.
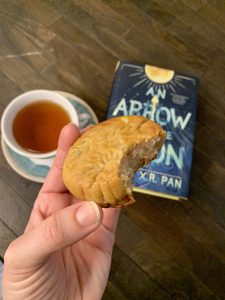
Take a ball of dough and roll it out with a rolling pin between two sheets of plastic wrap until approx. 1/8” thick. Remove the top sheet of plastic wrap and place a filling ball in the center of your dough. Then gather the edges of the plastic wrap on the bottom to close the dough over your filling, squeezing the sides together to create a ball. Dust lightly with cornstarch or flour and place the ball on a parchment-lined baking sheet. Seam side down, place your mold overtop and then press the mooncake mold firmly, but gently. Tap down on the mold so that way you get a nice imprint of the design on the top. Then like a cookie cutter, remove the mooncake mold to reveal your gorgeous mooncake!
Once all your mooncakes are molded, lightly mist them with water and then place in a 375F oven for five minutes.
Remove and brush very lightly with egg wash. Don’t overdo the egg wash, or you’ll loose the design!
Reduce oven to 325F and bake for another five minutes. Remove and brush with an egg wash again. Place them back in the
oven for 10-13 minutes or until golden brown. Remove your mooncake and let them cool on a wire rack completely.
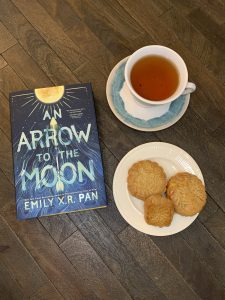
You can enjoy your mooncakes fresh out of the oven, but there is an argument to be made that they taste better after a day or
two in the fridge. My recommendation? Make a large enough batch to do both! Enjoy a mooncake now, then wrap the ones you want to save completely in plastic wrap. They can stay in the fridge for up to 3 days.
You can also try experimenting with different filling flavors! Traditionally, mooncakes have salted egg-yolks, but I’m not a huge fan of them so I didn’t include them in my recipe. Another traditional flavor is red bean paste, however there are infinite
possibilities for mooncake fillings! Some of my other favorites that I’ve had (but never made) are custard filled, matcha, sweet nut, and even fruity jam flavors like peach and yuzu!